
Table of Contents
1. Introduction
Quick Tip
Always duplicate a Skin before editing to preserve copies of the original templates.
From the plugin’s Item Skin Editor, make a duplicate of your grid’s current skin.

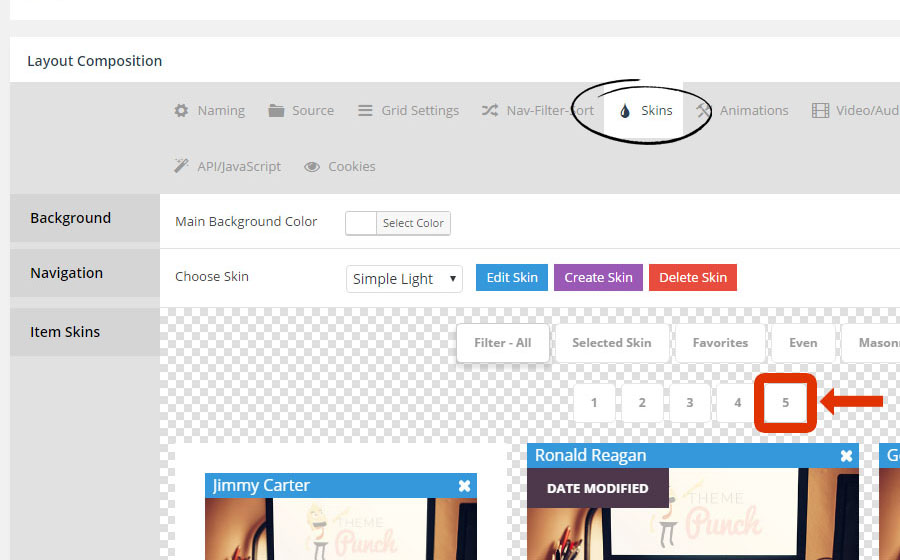
Next, click over to the last page of skins, and click the “Edit Skin” button for the skin titled “Item Skin 1”.

Next, rename the duplicated skin and save.

And finally, assign the duplicated skin to your Grid.
From your grid’s “Skins” tab:
Select the newly duplicated skin:

2. Add / Remove Layers
From the plugin’s main admin page, choose “Edit Skin”.

To delete an element, select its Layer from the Item Layout section located on the right side, and then click “Remove” from the Layer Settings on the left.

To add a new element, find an “Available Layer” from the bottom list, and drag it into the “Item Layout”.

And finally, choose the item’s Source:

3. Adjust Text, Icon & Button Styles
From the plugin’s main admin page, choose “Edit Skin”.
Next, select the Layer you’d like to edit, and adjust its styling.

Font-style adjustments:

Background Color adjustment:

Background Padding adjustment:

Border-Radius Adjustments:

Quick Tip #1
Activate and apply styles to the “Hover” tab to add/adjust hover styles for the element.

Quick Tip #2
Save your customized element as a new “Template” that can then be used for other skins.


4. Adjust Content Positioning
From the plugin’s main admin page, choose “Edit Skin”.
Next, select the Layer you’d like to edit, and adjust the options from the “Spacing” tab.

Adjust Alignment:

Drag and Drop the Layers throughout the available Drop-Zones:

Change the display property of the Layer from “inline-block” to “block” to spread the element across the entire width of the Grid Item.

And then apply some margins to the Layer:

5. Show Layers by default without a mouse-hover
From the plugin’s main admin page, choose “Edit Skin”.
Next, select the Layer you would like to always show by default on desktop, select the “Show/Hide” tab, and then enable the “Show without Hover on Desktop” option, as shown in the following screenshot.

To display the Layer on mobile without “Tapping” on the grid item, enable the “Show without Tap on Mobile” option, as shown in the following screenshot.


